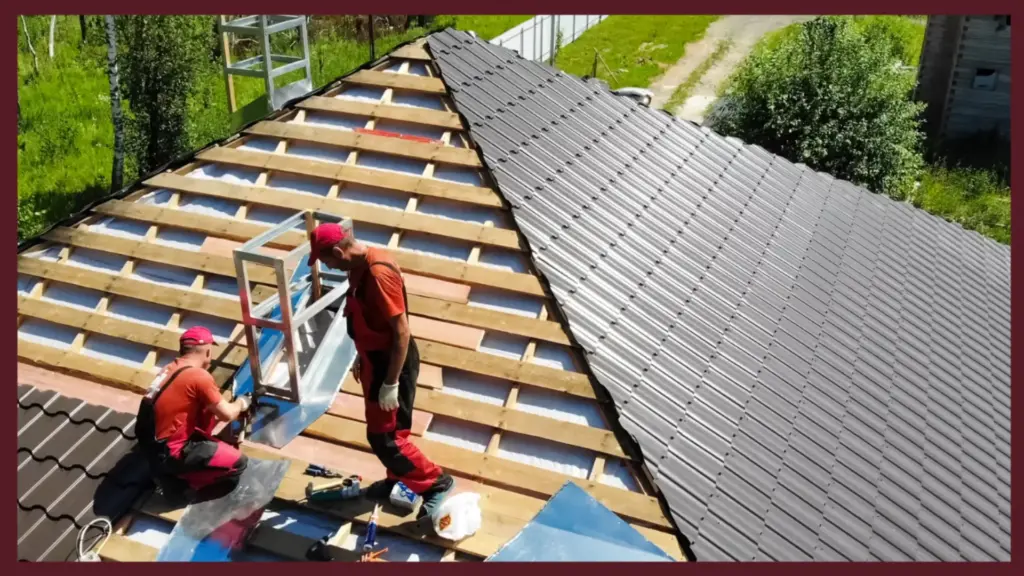
Asphalt shingle roofing is one of the most popular choices among homeowners due to its durability, affordability, and aesthetic appeal. Understanding the basic steps of an asphalt shingle roofing installation can help homeowners appreciate the process, make informed decisions, and ensure a lasting roof. Here’s an overview of what’s involved in asphalt shingle installation and why each stage is crucial for a secure and efficient roof.
Preparing the Roof Deck and Installing Underlayment
The first step in any roofing installation is to prepare the roof deck by removing old shingles, checking for structural issues, and ensuring a clean, stable surface. This preparation is essential, as any debris or moisture can weaken the bond between the roof and shingles, leading to leaks. Once the deck is ready, an underlayment is installed to create a protective barrier that prevents moisture from seeping into the home.
Placing Starter Shingles Along the Edges
After the underlayment is secured, the next phase involves placing starter shingles along the edges of the roof. These specially designed shingles create a strong base layer that protects the edges from wind and water damage. By overlapping with the main shingles, starter shingles help secure the roof’s perimeter, where most leaks and damage typically begin. This step is vital in ensuring a tight seal that prevents water penetration and enhances the overall strength of the roofing installation, providing lasting protection against the elements.
Aligning and Securing the Asphalt Shingles
The main asphalt shingles are then installed in overlapping rows from the roof’s base up to the ridge. This overlapping design provides a watertight seal and maximizes the roof’s ability to shed water effectively. Each shingle is carefully aligned to maintain a consistent look and secure fit, with nails placed strategically to hold them in place without compromising the surface. The quality of alignment and fastening is critical to the roofing installation, as misalignment can lead to gaps that allow moisture to infiltrate.
Adding Flashing and Ridge Caps for Extra Protection
The final stage involves installing flashing around vulnerable areas, such as chimneys, vents, and skylights, to prevent water from entering these seams. Flashing is usually made of metal and is crucial for creating a water-resistant barrier around these roof openings. Ridge caps are then added along the roof’s peak to create a finished look and reinforce the structure’s protection. Ridge caps also provide additional ventilation, allowing warm air to escape, which helps reduce moisture buildup in the attic. This attention to detail in the finishing steps completes the roofing installation, ensuring a secure and weather-resistant roof.
Understanding these basics of asphalt shingle roofing installation enables homeowners to appreciate the craftsmanship involved in each step. By knowing what to expect, homeowners can ensure a quality installation that keeps their home protected and enhances curb appeal.
Learn more about roofing installation:
Asphalt Shingle Installation: Pros and Cons of This Popular Roofing Option

